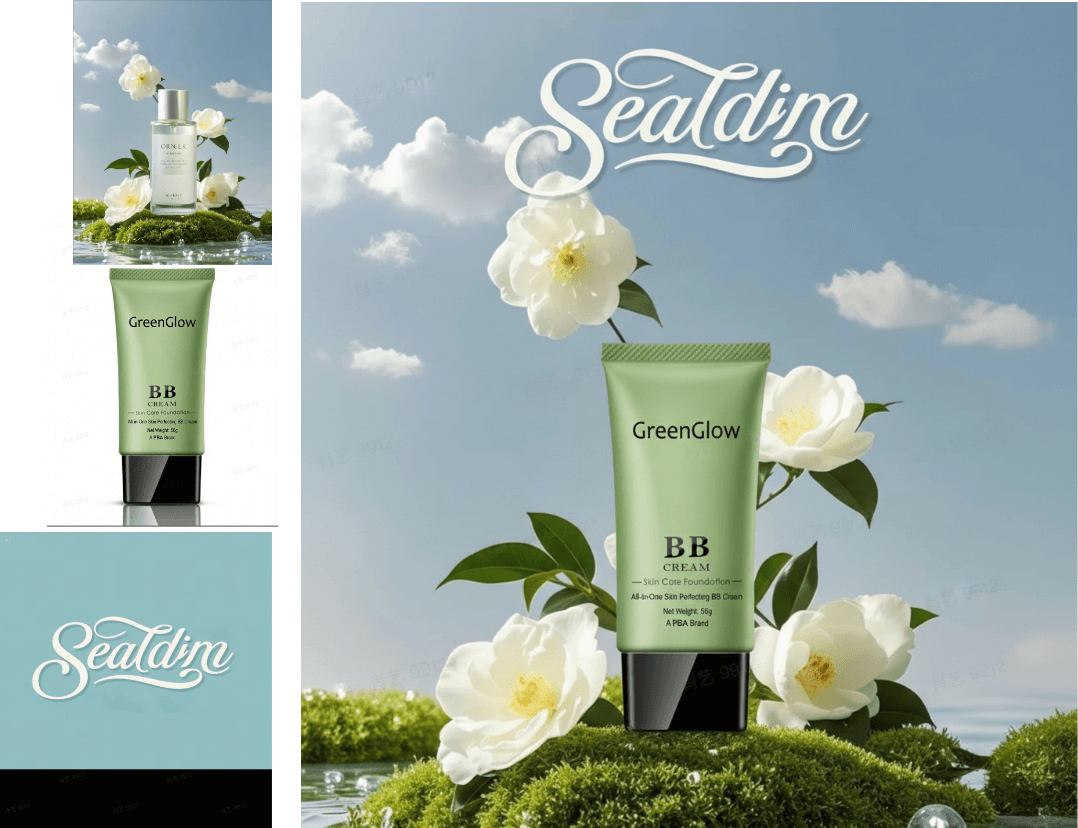
How to Take Professional Product Photos Without a Studio
Learn how to take professional product photos without a studio using a smartphone, window light, and a $50 DIY setup—plus when AI tools scale what DIY cannot.
On this page
You do not need a rented studio to take product photos that look professional. With a smartphone, controlled light, a seamless white background, and a fixed shooting position, most e-commerce sellers can produce catalog images that meet Shopify and marketplace standards. The goal is not magazine production on day one—it is consistent, trustworthy product presentation you can repeat for every SKU.
This guide walks through a complete DIY workflow: what to buy, how to light and frame shots, which angles to capture, and how to edit for a clean finish. When your catalog outgrows what a home table setup can do—lifestyle scenes, on-model fashion shots, or dozens of variations per product—we cover where AI product photography fits as the next step.
What Do You Need to Take Product Photos Without a Studio?
A functional home product photography kit has six parts:
- Camera — A recent smartphone is enough for most listings. Modern phone sensors exceed marketplace resolution requirements when lighting is controlled.
- Tripod or stable mount — Eliminates blur and keeps framing identical across products.
- Light source — A north-facing window with indirect daylight, or a two-light LED softbox kit for weather-independent consistency.
- White background — Poster board, foam core, or seamless paper curved into a sweep.
- Reflector — A white foam board opposite your light source to fill shadows.
- Flat surface — A table marked with tape so product placement stays fixed.
You can assemble the minimum version for under $50 using items from any office or craft store. Lighting is the only upgrade that meaningfully changes results—moving from a single window to a basic LED panel removes time-of-day and weather variability.
Why Does Consistent Lighting Matter More Than Your Camera?
Lighting determines whether a product looks dimensional, color-accurate, and trustworthy. A mid-range phone in good light routinely outperforms an expensive camera in mixed or harsh light.
Three lighting mistakes cause most DIY failures:
- Mixed light sources — Window daylight plus overhead room LEDs create color casts that are hard to fix in editing. Turn off room lights when shooting with natural light.
- Direct sunlight — Hard shadows and blown highlights. Use indirect window light or diffuse with a sheer curtain.
- Flat front lighting — Light from directly behind the camera flattens texture. Side lighting at roughly 45–90 degrees reveals shape and material detail.
The standard two-light mental model works even with one window: place your key light (window or softbox) to one side of the product, then bounce fill light back with a white board on the opposite side. Softer, more even light beats brighter, harsher light every time.
How Do You Set Up a DIY Product Photography Space at Home?
You do not need a dedicated room. A corner of a spare bedroom, a section of a dining table, or a garage workbench all work if you can control light and keep the setup unchanged between shoots.
Follow this layout:
- Choose a window — North-facing is ideal (indirect light all day). Any window with a curtain diffuser works.
- Build the sweep — Tape white poster board to the wall and curve it down onto the table with no visible horizon line. The curve is what creates a seamless studio look.
- Mark positions — Use painter's tape on the table for the product spot, tripod feet, and reflector placement. Fixed marks are how you keep Monday's shots matching Thursday's.
- Block distractions — A cardboard panel on the non-window side reduces color spill from colored walls.
Keep the space dedicated for the duration of a catalog shoot. Moving lights or bumping the tripod between products is the fastest way to end up with a mismatched storefront grid.
How Should You Light Product Photos Without Studio Equipment?
Can you rely on natural window light alone?
Yes, for small catalogs and products under about 12 inches. Shoot between late morning and early afternoon for the most stable color temperature. On overcast days, clouds act as a giant softbox—often the best free lighting you can get.
Position the product side-on to the window, not facing it directly. Side light adds depth; front light makes products look flat and plastic.
When should you add artificial lights?
Add a two-light LED softbox kit when:
- You shoot outside daylight hours or in seasons with short windows
- Your catalog exceeds roughly 20 products and consistency matters more than speed
- You need identical results for A/B testing or color-sensitive items (cosmetics, textiles)
Place both lights at 45-degree angles to the product, slightly above eye level. Diffuse through the softbox fabric—never point bare LEDs directly at glossy surfaces.
Which Background Works Best for E-commerce Product Photos?
Pure white (RGB 255, 255, 255) is the default for main listing images. Amazon requires it for the primary image; Shopify and most marketplaces recommend it for catalog grids because it isolates the product and simplifies editing.
For supplementary lifestyle or social images, textured surfaces—light wood, linen, marble—add context. Shoot the white-background hero first, then swap props for secondary angles. Never use a busy patterned backdrop for your main listing photo; it competes with the product for attention.
If your white sweep shows gray corners or uneven tones, the fix is almost always lighting (more even illumination on the backdrop), not a more expensive camera.
How Do You Shoot Professional Product Photos with a Smartphone?
Phone settings matter less than technique, but these habits separate amateur snaps from listing-ready images:
- Use the main 1x lens — Wide-angle lenses distort proportions; telephoto (2x) is fine if optical, not digital zoom.
- Lock focus and exposure — Tap and hold on the product until the lock indicator appears. Re-lock if you move the phone.
- Disable flash, HDR, and portrait mode — Flash creates hotspots; HDR and portrait processing can produce halos on product edges.
- Use a 2-second timer or remote shutter — Removes hand shake even on a tripod.
- Shoot more than you need — Take 10–15 frames per angle; pick the sharpest afterward.
Fill the frame with the product while leaving a small margin for cropping. Marketplace thumbnails crop aggressively—a product that is too small in frame disappears in search grids.
Which Angles Should You Capture for Every Product Listing?
A practical five-angle formula covers most e-commerce needs:
| Angle | Purpose |
|---|---|
| Front straight-on | Primary listing image; shows overall shape |
| 45-degree | Adds depth; good hero alternative |
| Side profile | Shows thickness, ports, closures, packaging depth |
| Top-down (flat lay) | Works for accessories, food, small goods |
| Detail close-up | Texture, stitching, labels, key features |
Keep the camera at the same height and distance for every product in a category. Shoppers subconsciously compare items in a collection grid— inconsistent scale looks unprofessional even when individual shots are sharp.
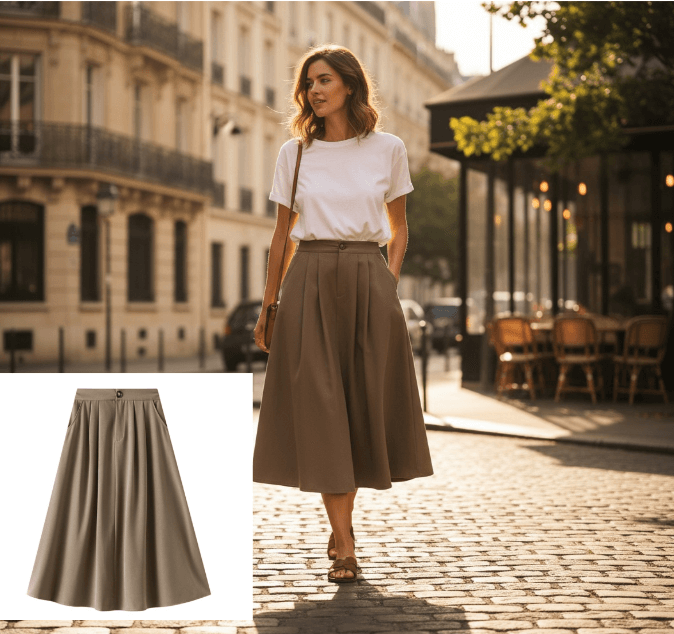
For fashion or wearable items, a flat lay or mannequin shot handles the product-only image, but on-model photos drive higher conversion. That is where DIY home setups hit a ceiling—and where tools like AI product photography for fashion and apparel become relevant.
How Do You Edit Product Photos to Look Studio-Quality?
A minimal editing workflow keeps colors honest and backgrounds clean:
- Straighten and crop — Align vertical edges; crop to consistent aspect ratio (1:1 for many marketplaces).
- White balance — Match the product's real color. Compare against the physical item under neutral light.
- Exposure and contrast — Lift shadows slightly; avoid crushing blacks on dark products.
- Background cleanup — Push background to pure white if the sweep shows gray. Clone out dust, fingerprints, and tape marks.
- Sharpen lightly — Apply output sharpening only at export size, not on the full-resolution master.
Free tools (Snapseed, Lightroom Mobile free tier) handle this workflow. The rule: edit for accuracy, not drama. Over-saturated colors increase returns because the delivered product never matches the photo.
When Should You Use AI Instead of a DIY Home Setup?
DIY excels at single-product, white-background catalog shots for small-to-medium catalogs. It struggles when you need:
- Lifestyle context — Products in kitchens, on desks, worn by models, or styled in seasonal scenes
- Scale — 50+ SKUs with identical lighting and styling standards
- On-model fashion or jewelry — Casting, wardrobe, and studio time multiply cost fast
- Rapid variation testing — Multiple backgrounds, angles, and contexts from one source image
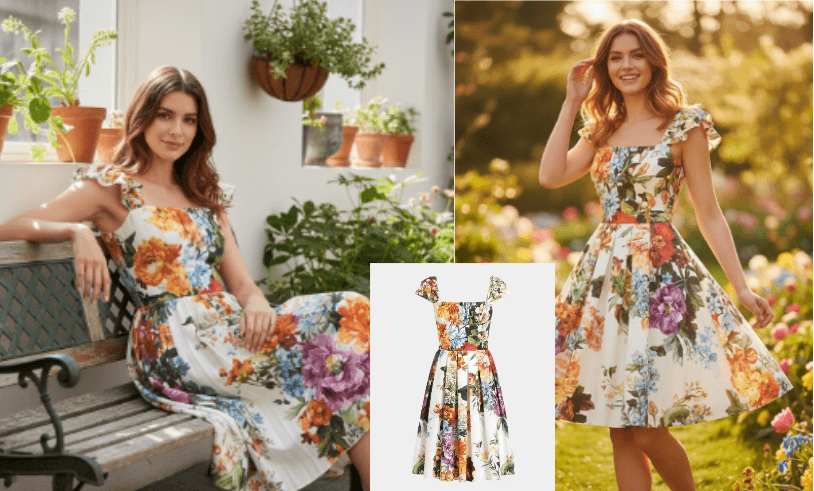
DeepKolor's AI product photography is built for that gap: upload a flat lay or white-background photo, describe the scene or model you want, and generate listing-ready lifestyle visuals in minutes. It complements DIY—you shoot the base product image at home, then scale context and variations without renting a studio or hiring models.
A sensible workflow for growing stores: DIY for core white-background heroes, AI for lifestyle galleries, ads, and fashion-on-model shots.
What Are the Limitations of DIY Product Photography?
Be realistic about where home setups stop:
- Reflective products — Glass, metal, and glossy packaging need flagging, polarizers, or multi-light setups that exceed basic DIY kits.
- Large items — Furniture and oversized goods need space and lighting coverage a dining table cannot provide.
- Strict brand consistency at scale — Without documented processes, different shoot days produce subtly different color and shadow patterns.
- Time cost — DIY saves money per image but not time. Budget 15–30 minutes per SKU including setup, shooting, and editing.
None of these are failures—they are signals to invest in better gear, hire a photographer for hero campaigns, or use AI for the shots that DIY cannot reproduce efficiently.
Summary
Professional product photos without a studio come down to a repeatable system: controlled side lighting, a seamless white sweep, a stable tripod, and consistent angles. A smartphone is sufficient when those four elements are fixed.
Start with the minimum kit, document your setup with tape marks and saved camera settings, and shoot white-background heroes first. As your catalog and creative needs grow, layer in artificial lights for consistency—or use AI product photography to generate lifestyle and on-model variations from the images you already captured at home.
Frequently asked questions
Can you take professional product photos with a phone?
Yes. Modern smartphones meet or exceed marketplace resolution requirements. Lighting, background control, and tripod stability affect perceived quality far more than sensor size. Lock focus and exposure, use the main lens, and shoot in consistent light.
What is the cheapest product photography setup?
A white poster board sweep, a window with indirect light, a piece of foam board as a reflector, and a phone tripod. This covers the essentials for small products and costs less than most single-product shipping fees.
Do you need a lightbox for product photography?
No. A lightbox helps for very small items and simplifies diffusion, but a window-plus-reflector setup or a two-light softbox kit produces better results for medium and large products. Lightboxes limit product size and can look flat without supplementary angles.
What background color works best for Amazon and Shopify?
Pure white for primary listing images on Amazon and most Shopify catalog grids. Use lifestyle backgrounds only for secondary images, ads, and social content—not as your main search-result thumbnail.
How many photos do you need per product?
At minimum: one front hero, one angle showing depth, and one detail shot—three images. Competitive listings often include five to seven images plus lifestyle context. Match image count to how much explanation your product requires; complex items need more angles, simple items need fewer.
When does DIY product photography stop being enough?
When you need on-model fashion shots, complex lifestyle staging, reflective-product control, or dozens of consistent variations per SKU. At that point, upgrading lighting, hiring a photographer for key campaigns, or using AI generation from your existing product photos is usually more efficient than expanding a home studio.
Related posts
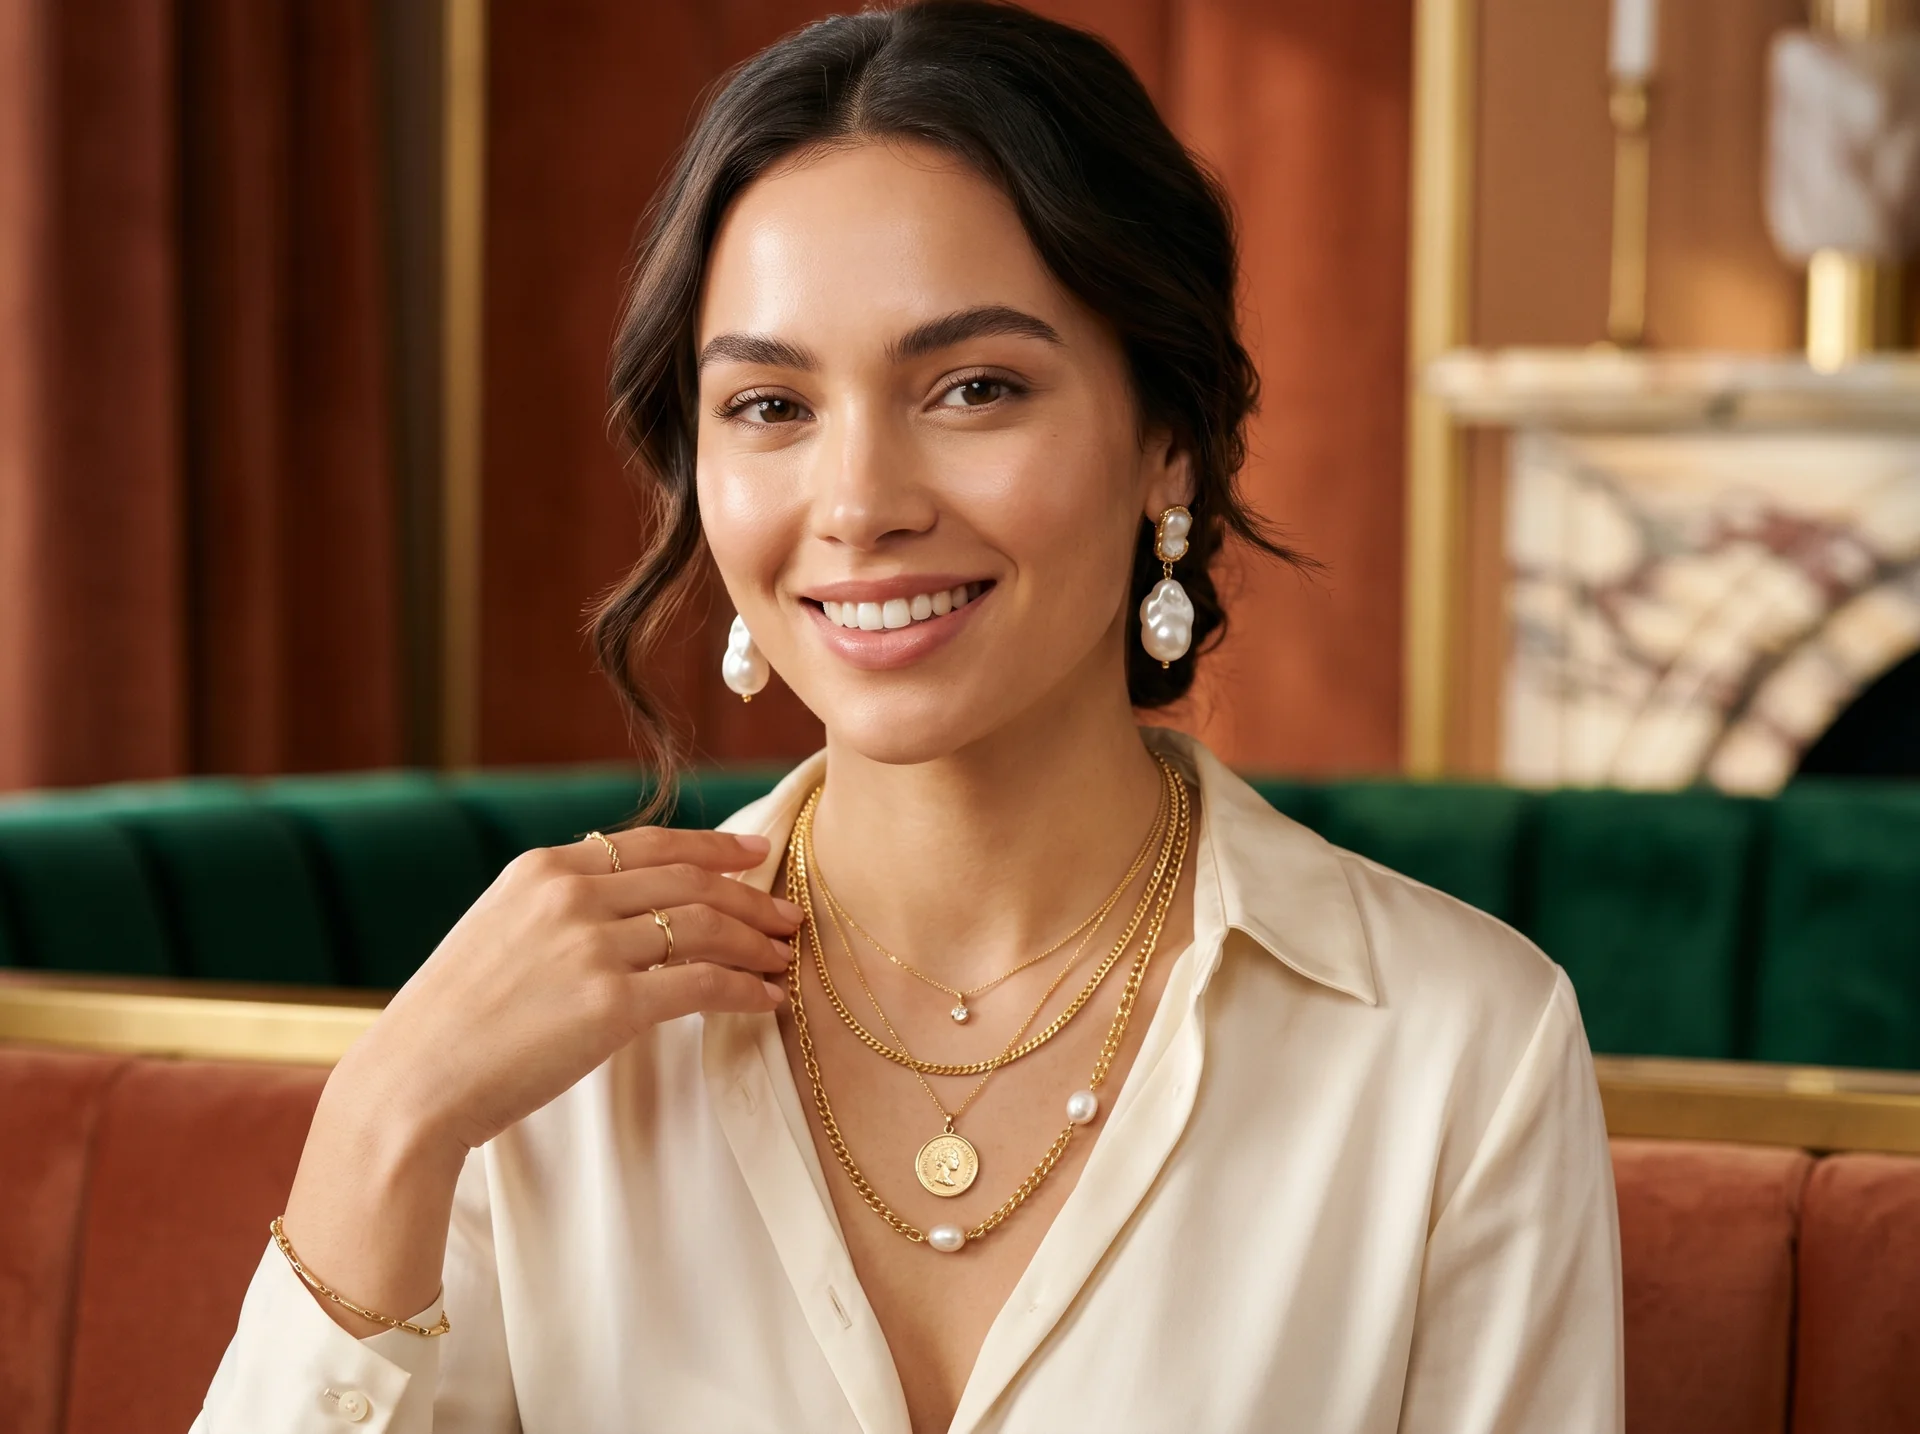
AI Jewelry Product Photography: How to Create Ecommerce Images That Sell
Learn how to create AI jewelry product photography for rings, necklaces, and bracelets — from one clean source photo to ecommerce-ready images, plus accuracy limits and marketplace image rules.
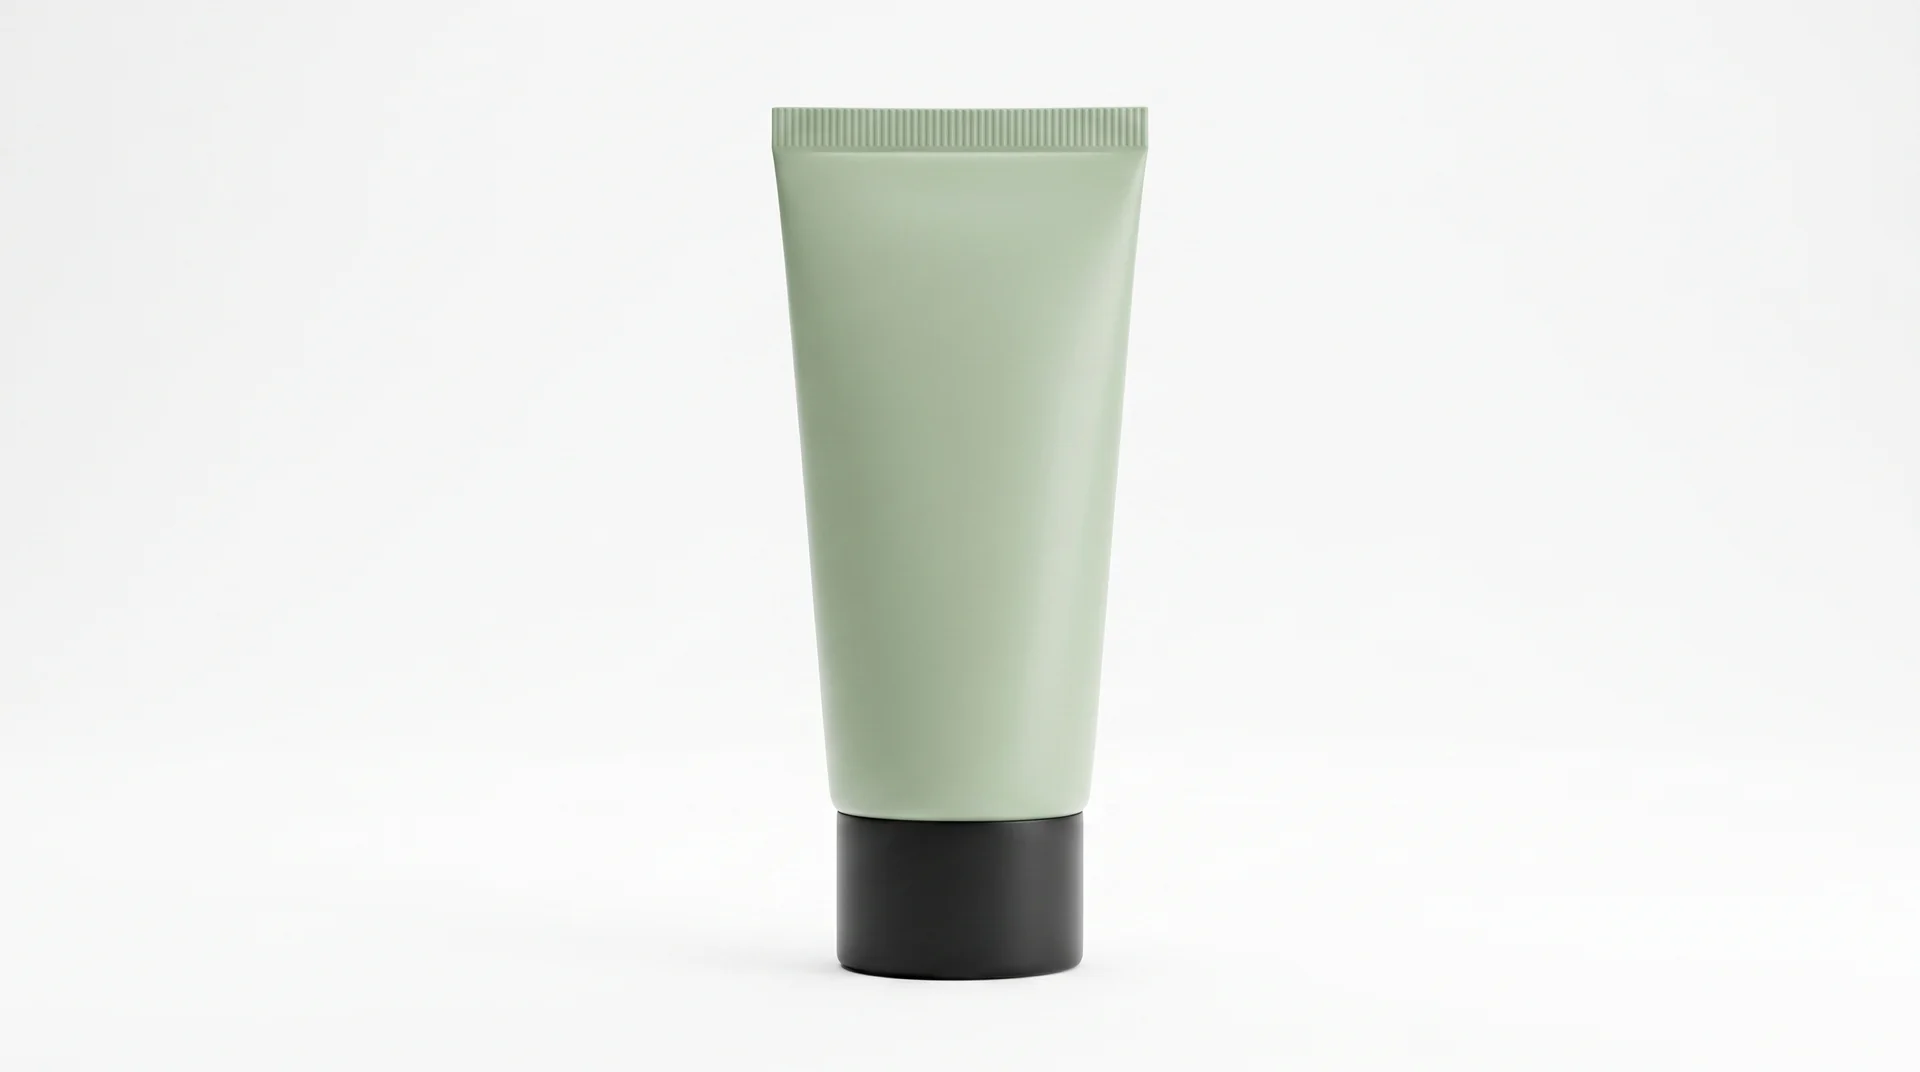
Amazon Product Image Requirements: A Seller's Checklist for 2026
A 2026 seller checklist for Amazon product image requirements — main-image rules, pixel sizes, additional slots, suppression fixes, and a pre-upload review.
What Is an AI Design Agent? Definition and How It Works
An AI design agent takes a brief, creates the visual, and edits with you in chat. See how it differs from image generators and when to use one.